
[Facebook Ads] How to Create & Share a Custom Audience List
Go to business.facebook.com
Click on All Tools on the left of the screen.
(This may just look like the 3 lines icon without ‘All tools’ visible)
Select Audiences from the list
Create a Custom Audience
Select Customer List, then click Next
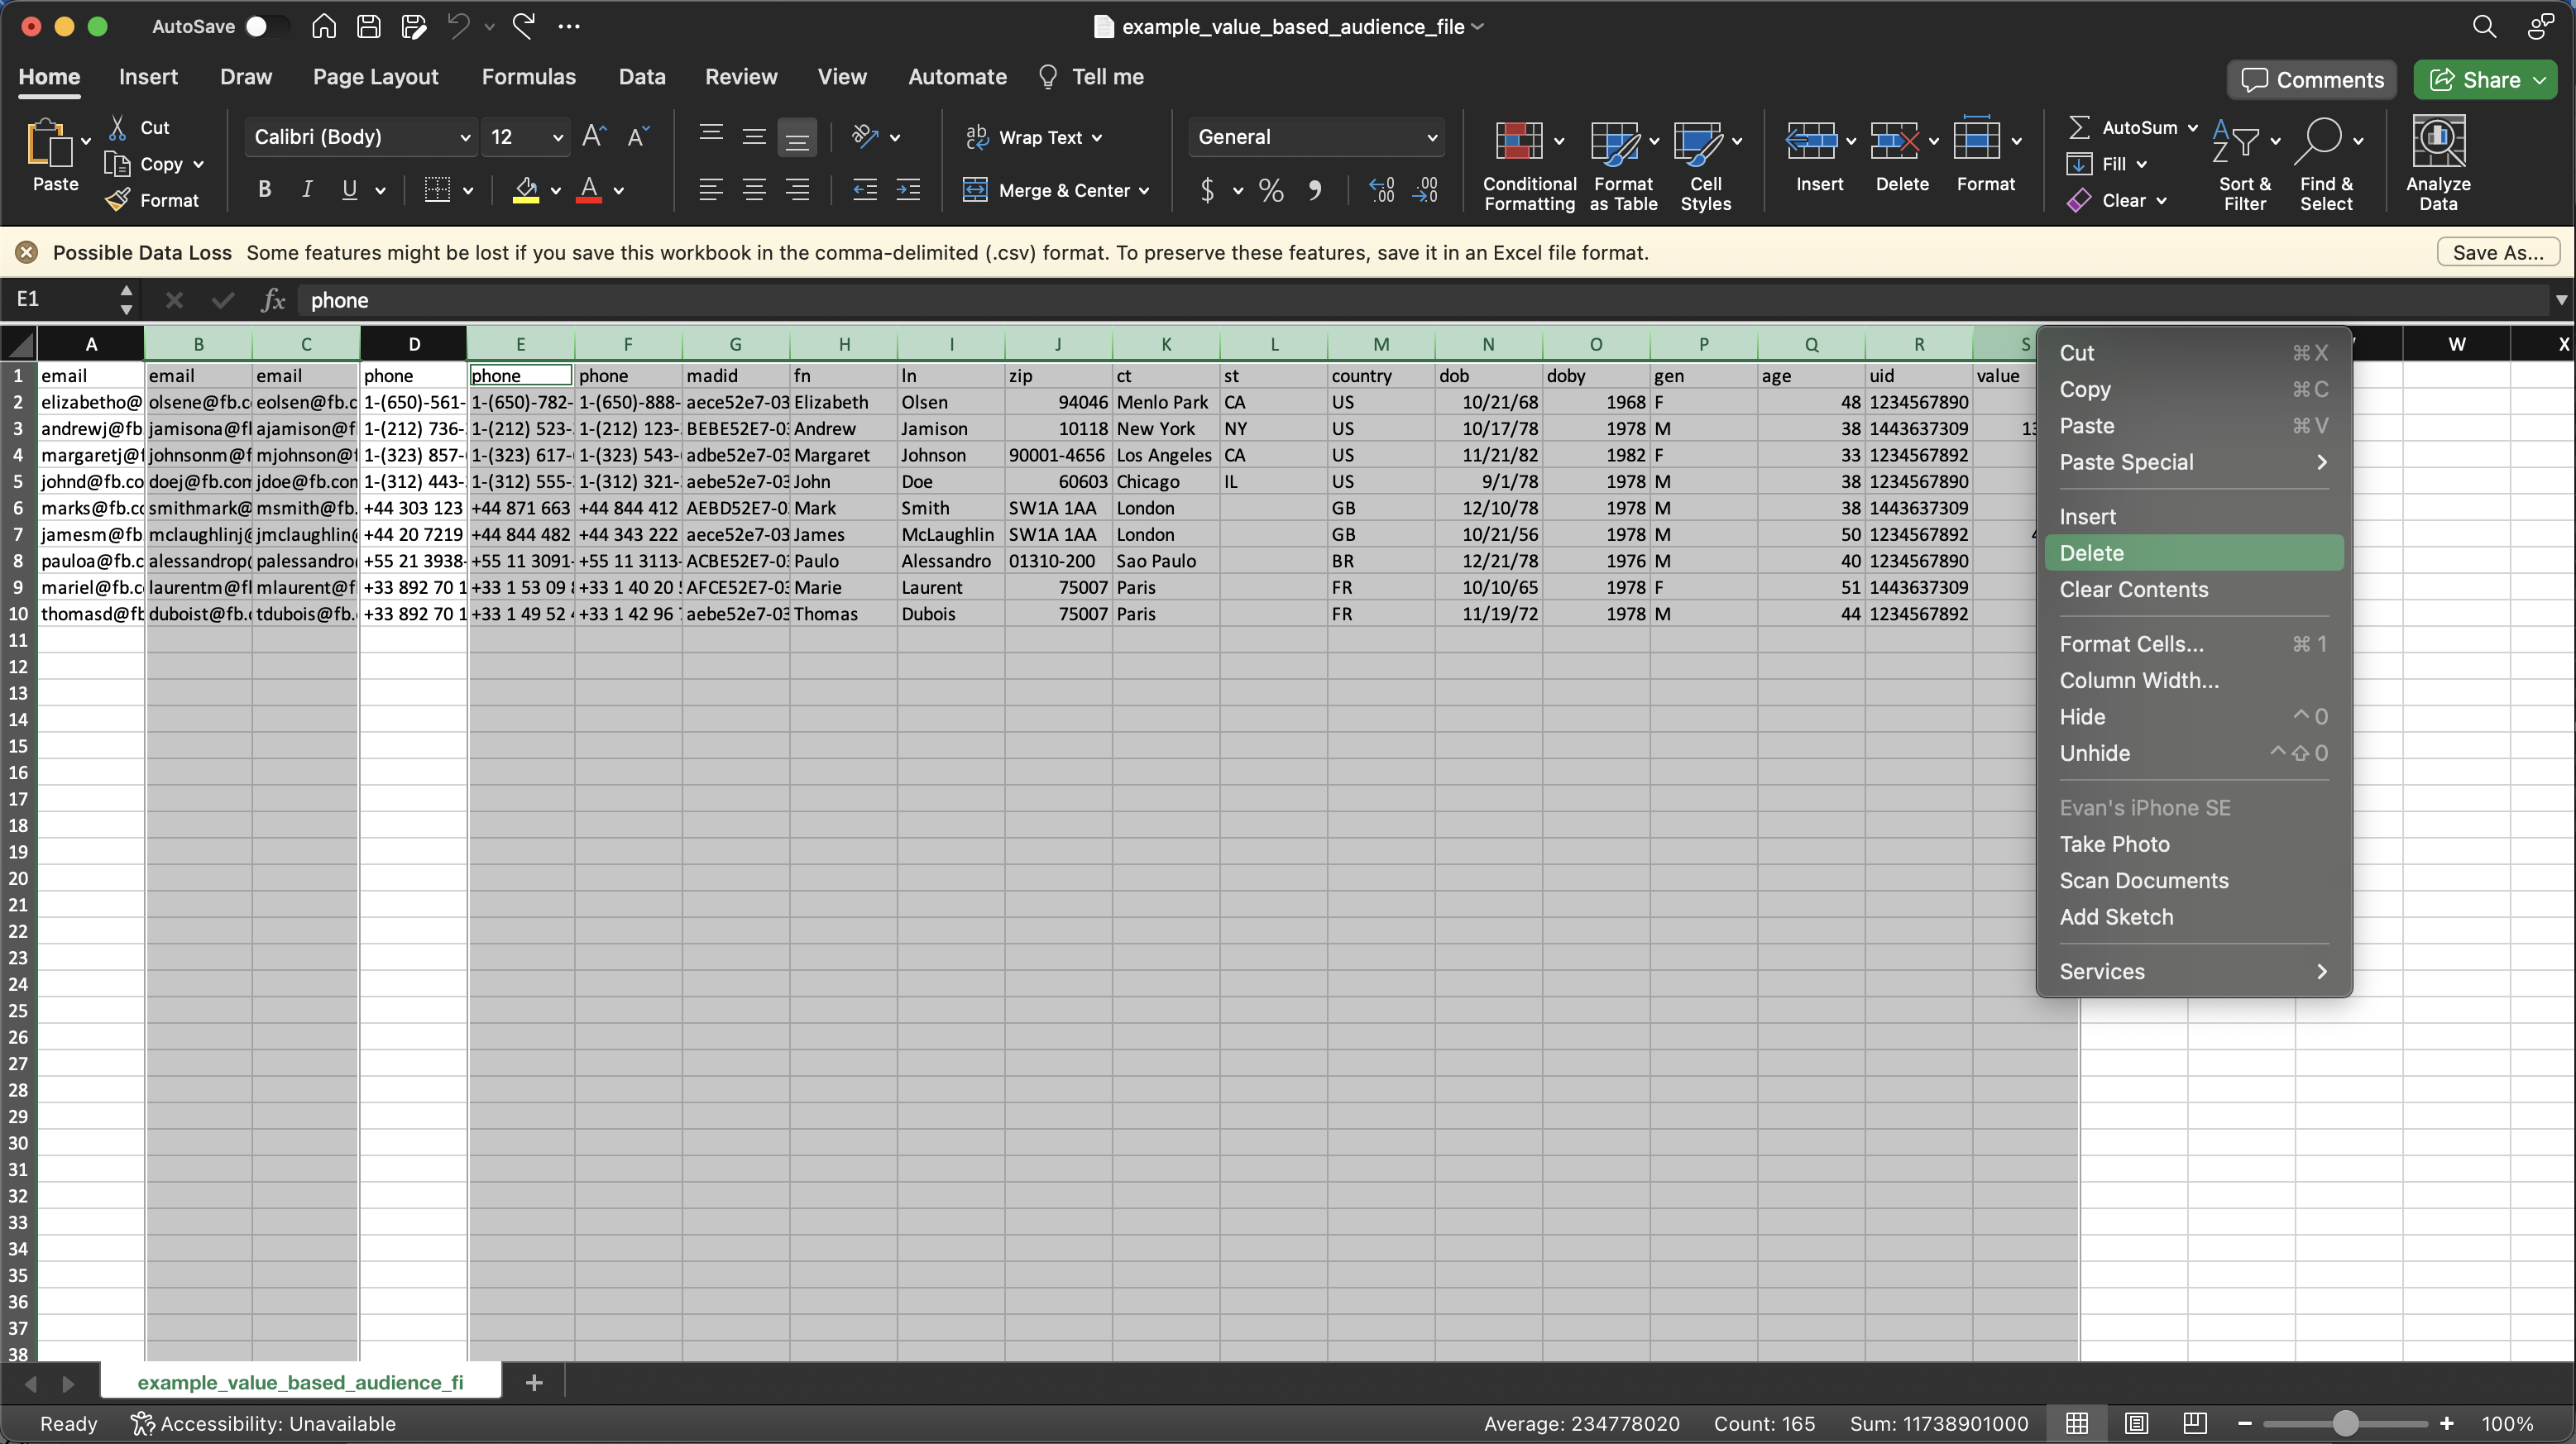
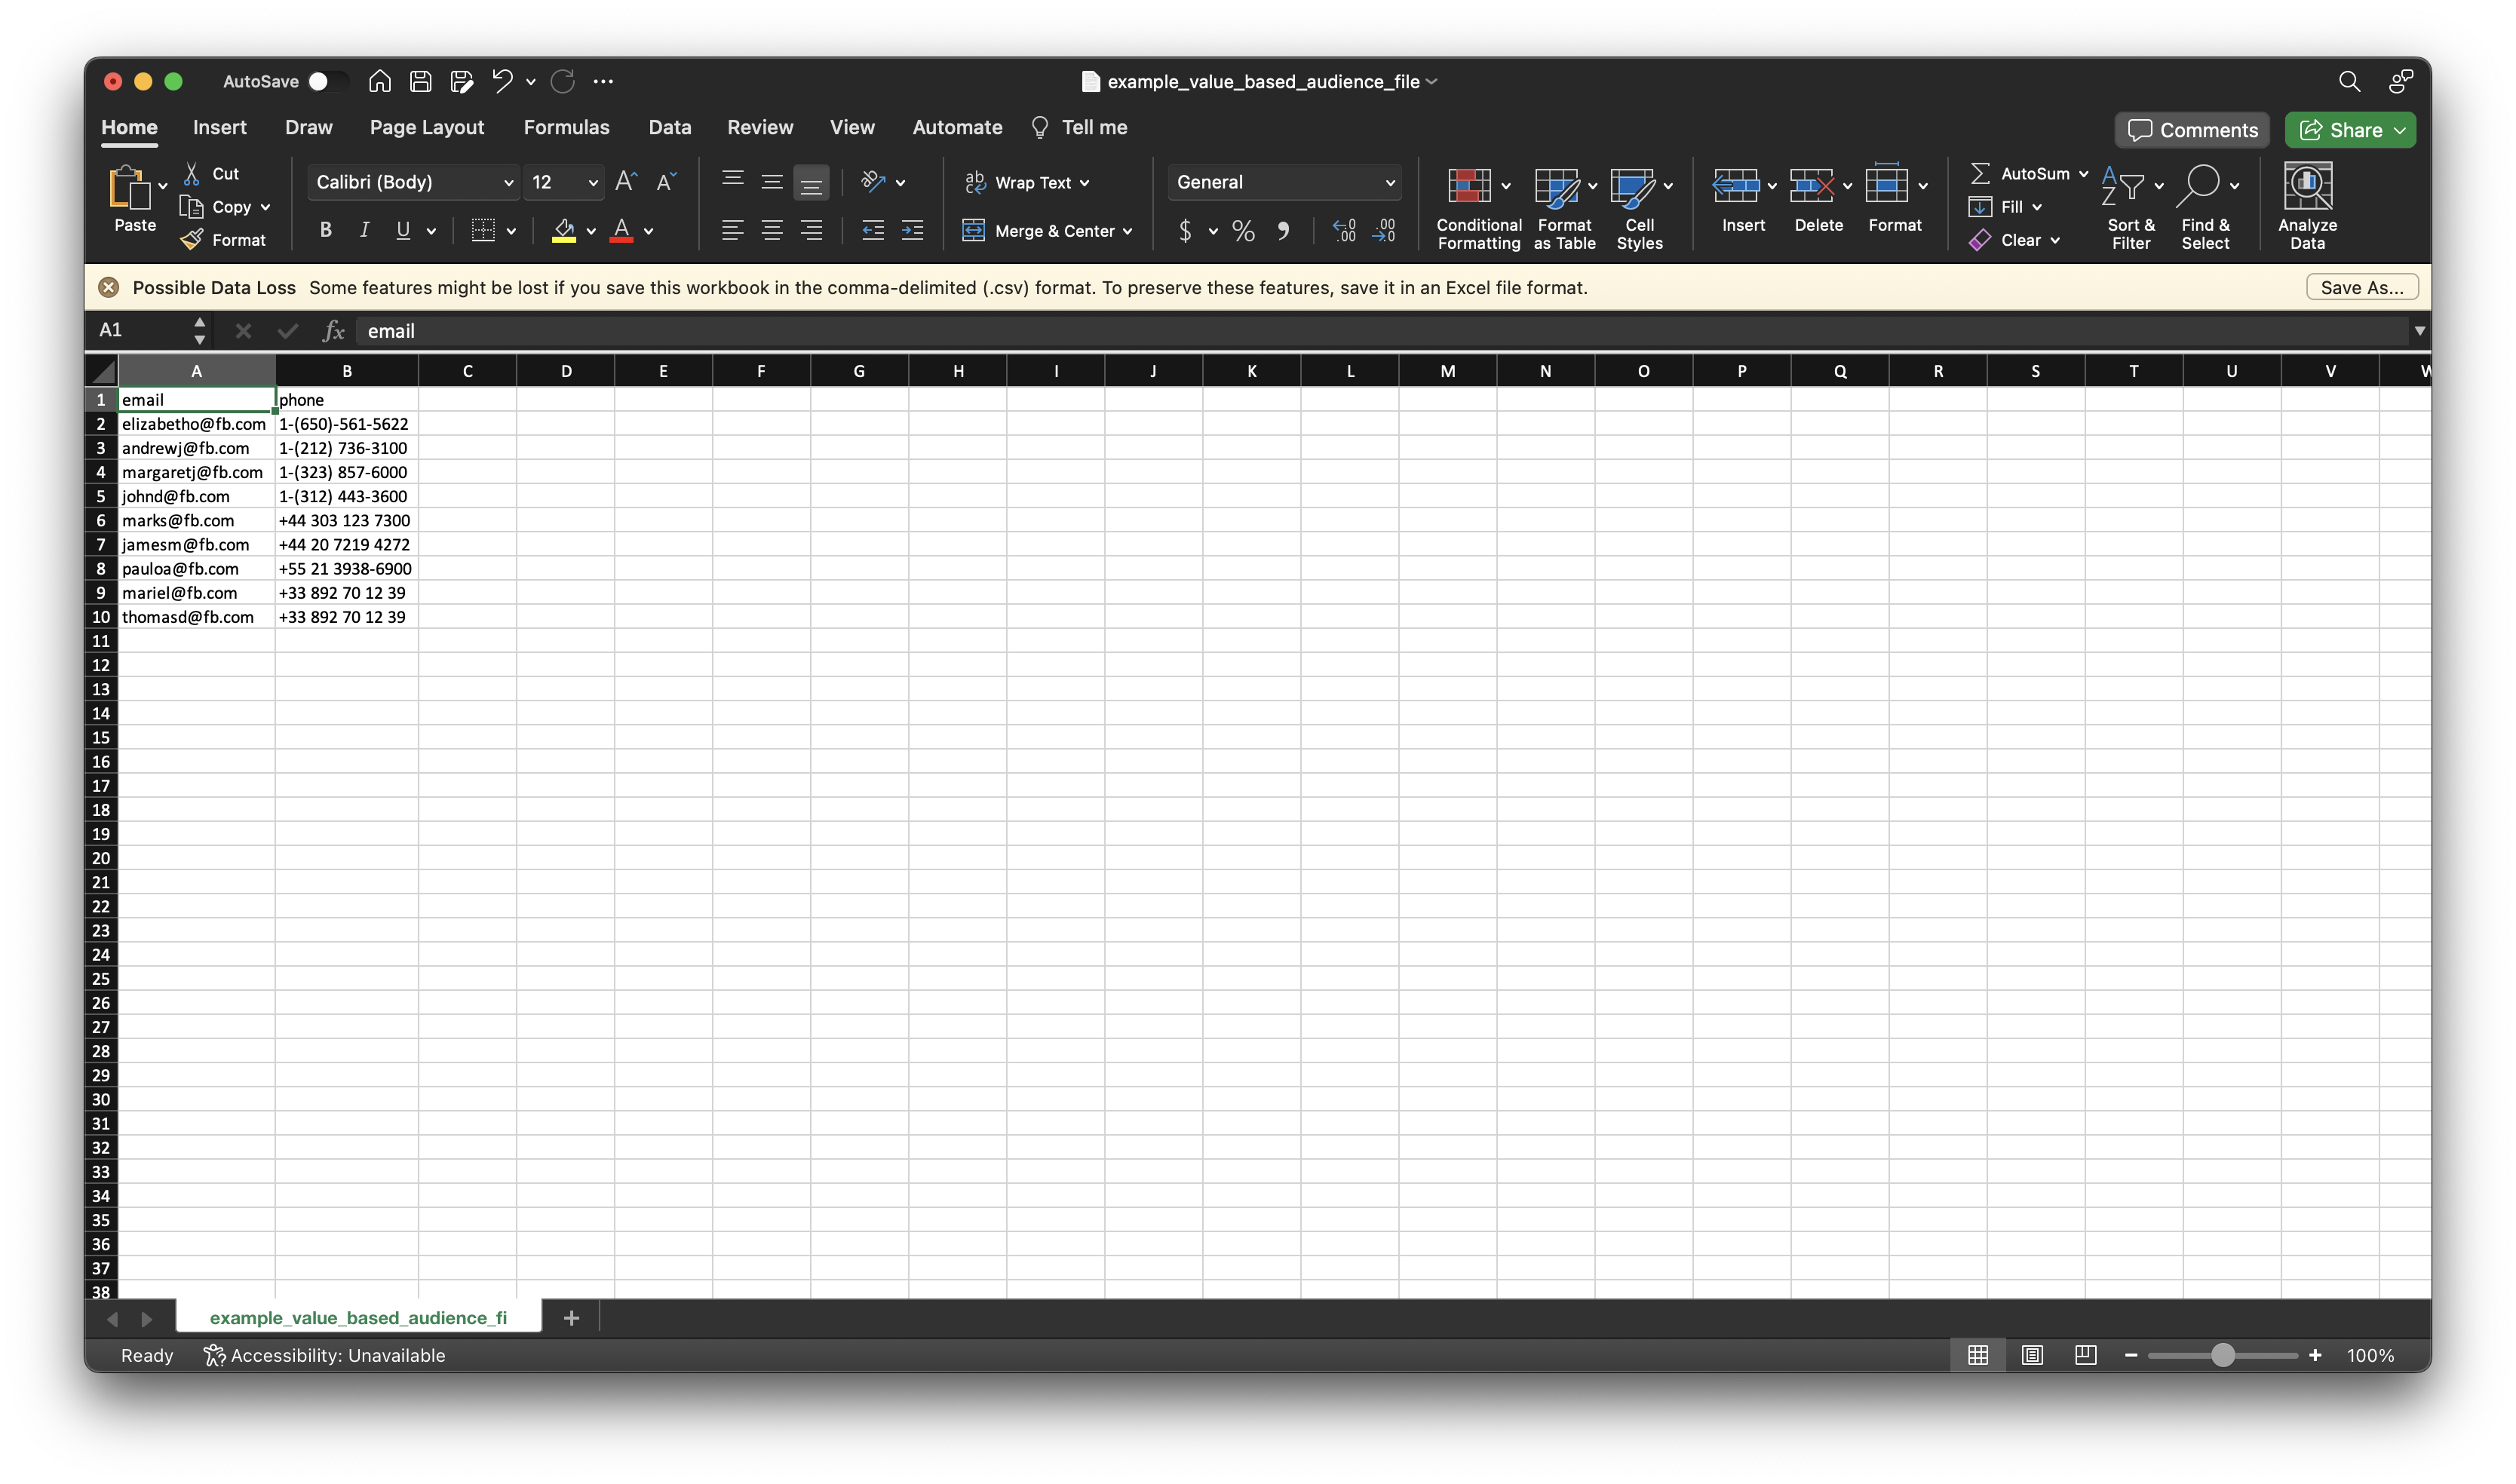
You will be required to follow the on-screen instructions, starting with preparing your customer list. Please download file template, update it with your customer information, and save the file. Make sure that you have at least phone numbers and email addresses. If you don’t have any other information, you can delete the columns that are not required. Finally, click Next.
There’s no need to fill out a Customer Value. So for the ‘Select list type’ step, you may choose No. Then, check the box to accept the Custom audience terms and click Next.
Upload the customer list that you prepared in step 6. Give a name to your Audience, and click Next.
Now it’s time to match the data you uploaded to the correct identifiers from each dropdown.
After you have correctly mapped the customer data, click on Import & Create
You will now see the Audience you created on the Audience Page. Select the audience you created and click Share
Choose an Ad Account owned by another business and input the Ad Account ID provided to you by your sales representative. (If you haven't yet received one from us, please just ask!)
Click Share.